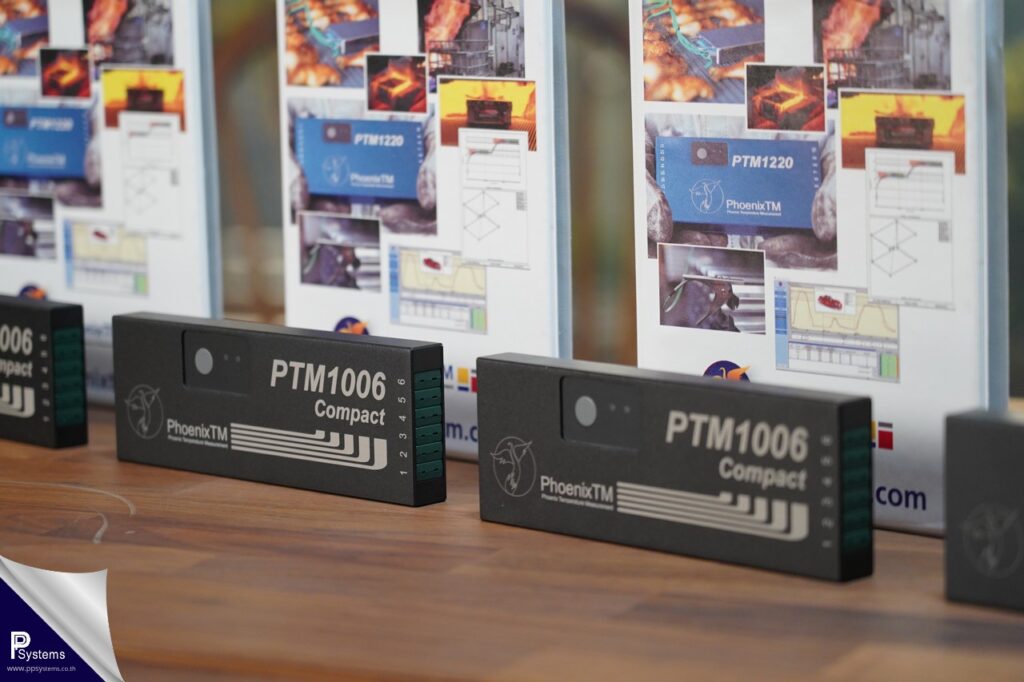
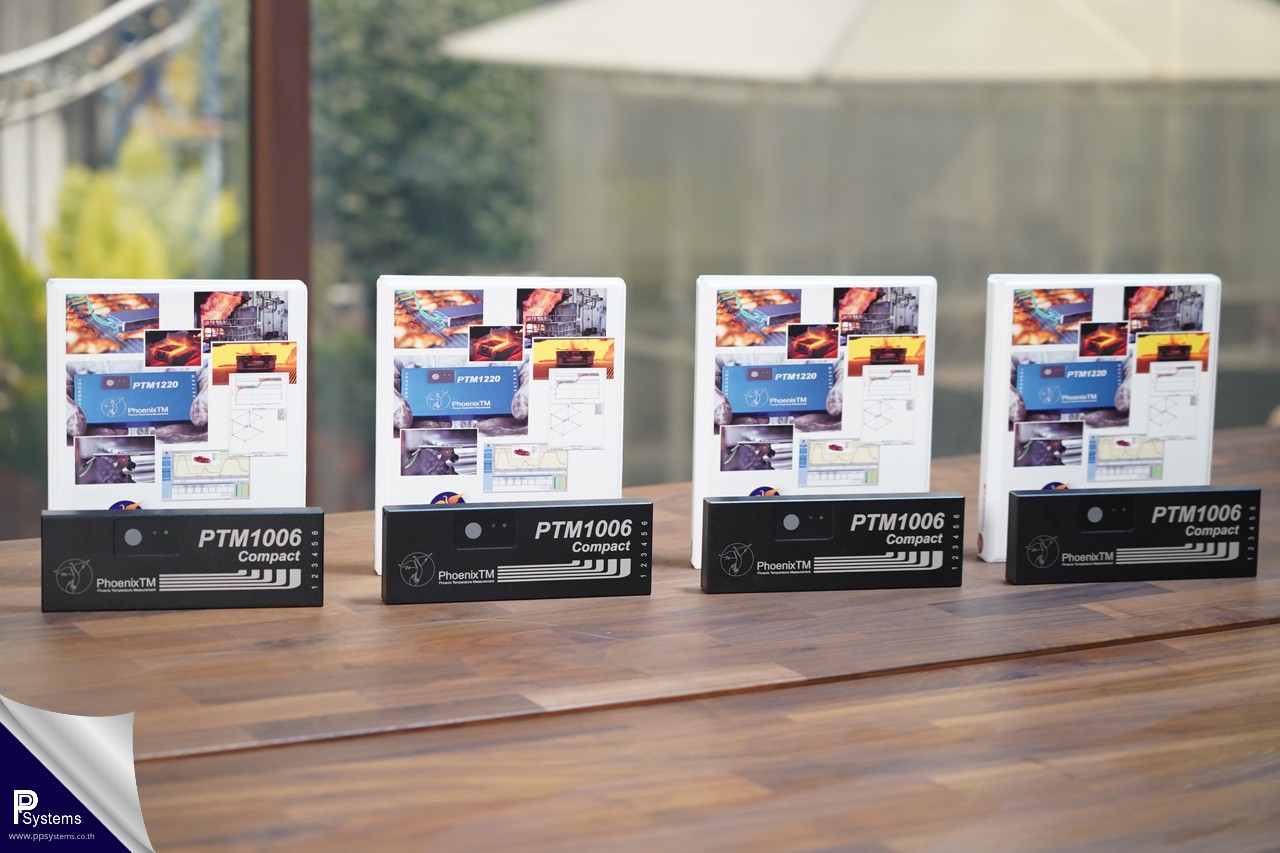
PhoenixTM PTM1-006-Compact: Precision Meets Agility
The PTM1-006-Compact temperature data logger has been continuously developed to meet the rigorous demands of Thru-process temperature profiling. It is the ideal solution for industries requiring compact instrumentation without compromising on ruggedness or maximum accuracy.
✅ Unmatched Global Precision Standards (High Precision)
Ultra-High Accuracy of ±0.3°C: Delivers exceptional resolution with minimal deviation, outperforming standard loggers in the market. This allows engineers to conduct in-depth Heat Profile analysis for precise furnace tuning and significant energy savings.
Compliance with Global Standards: Engineered for the strictest industrial requirements, fully supporting CQI-12 (Special Process: Coating System Assessment).
0.5s Fast Logging: Combined with a massive 400,000-point memory, it ensures high-resolution data collection every critical second, eliminating concerns about data overflow.
✅ Overcoming Space Constraints (Slim-Line Design)
Designed with a height of only 20 mm, this logger is the perfect solution for furnaces with limited vertical clearance, ensuring smooth and effortless passage through:
Paint Ovens: Ideal for high-resolution coating and curing analysis.
Reflow Ovens: Perfectly sized for the electronics industry.
Bakery Ovens: Designed for low-clearance conveyor belt systems.
✅ Premium Materials & Robust Construction
Superior Strength and Durability: The chassis is constructed from high-quality Anodized Aluminum Alloy, providing a hardened protective layer that offers excellent resistance to impacts, scratches, and corrosion from chemicals or vapors within the production environment.
Heat Resistant yet Lightweight: Engineered to withstand harsh industrial heat while remaining lightweight for maximum agility. This allows for quick and convenient installation into Thermal Barriers.
✅ Simplified Management & Minimized Downtime
Standard AA Alkaline Battery Power: Powered by two standard AA batteries, which are easy to source and can be replaced instantly. This eliminates waiting time for recharging, ensuring your production line keeps moving.
Expert Engineering Support: Designed for ease of maintenance and backed by professional technical support and service from PP Systems Co., Ltd., ensuring your equipment operates at peak performance throughout its lifespan.

Technical Specifications: PhoenixTM PTM1-006-Compact
| Category | Specifications |
| Model Name | PTM1-006 Compact |
| Number of Channels | 6 Channels (Thermocouple Type K) |
| Housing Material | Premium Anodized Aluminum (Lightweight, High Strength) |
| Temperature Measurement Range | 0°C to 500°C |
| Operating Temperature (Logger) | Up to 80°C (176°F) |
| Measurement Accuracy | ±0.3°C (High Precision) |
| Resolution | 0.1°C (0.2°F) |
| Thermocouple Connector | Miniature TC Plug |
| Protection Class | IP60 |
| Memory Capacity | 440,000 Data Points |
| Logging Frequency (Sample Interval) | User-selectable: 0.5 seconds to 60 minutes |
| Battery Type | 2 x ‘AA’ Standard Alkaline |
| Dimensions (L x W x H) | 200 mm x 70 mm x 20 mm |
| Weight | Approx. 500 g |
| Calibration Certificate | Included with the equipment |
Operating Procedures: PhoenixTM PTM1-006-Compact (Trailing Method)
1. Preparation
Battery: Install two (2) fresh AA Alkaline batteries to ensure consistent power throughout the process.
Hardware Inspection: Verify that the Anodized Aluminum chassis and all thermocouple probes are in perfect condition and free from damage.
Software Setup: Configure the sampling interval to 1 second (or as required) within the software to ensure high-resolution data capture.
2. Setup
Probe Attachment: Securely fasten the probe tips to the Critical Points on the test product.
Logger Positioning: Place the data logger in a safe zone where the ambient temperature remains below 80°C (e.g., at the furnace entrance or a designated safety area).
Cable Management: Organize the thermocouple leads to prevent tangling; ensure there is sufficient cable length to traverse the entire length of the furnace without restriction.
3. Execution
Start Recording: Press the start button and confirm the system status via the LED indicator.
The Process: Load the product into the furnace while carefully feeding the trailing cables to follow the product’s movement.
Completion: Once the product has fully exited the furnace, stop the recording and retrieve the equipment immediately.
4. Data Analysis
Download: Connect the logger via USB to transfer the recorded data into the Thermal View software.
Verification: Cross-check the recorded values against the ±0.3°C high-precision accuracy specified in the Calibration Certificate.
Reporting: Generate a comprehensive Heat Profile report compliant with international quality standards, including CQI-12.
💡 Pro-Tips & Warnings:
Cable Tension: Monitor the trailing leads closely; ensure they are not pulled taut during the process to avoid damage to the connectors or inaccurate readings.
Surface Maintenance: Always wipe the Anodized Aluminum surface clean after each use. This prevents chemical buildup and significantly extends the lifespan of the instrument.
Operating Procedures: PhoenixTM PTM1-006-Compact (Thru-Process Method)
1. Preparation
Battery: Verify that two (2) AA Alkaline batteries have sufficient power for the entire duration of the run.
Thermal Barrier: Inspect the condition of the heat shield and the silicone gaskets. Ensure they are clean and free from tears to maintain a perfect thermal seal.
Software Setup: Configure the sampling interval to 5 seconds and verify available memory (the device supports up to 400,000 data points).
2. Setup & Assembly
Probes: Attach the thermocouple probes securely to the test product and connect them to the PTM1-006 Compact logger.
Protection: Place the logger inside the Thermal Barrier. Cross-check that the oven temperature and cycle time align with the barrier’s specifications. (Recommended maximum operating temperature: 250°C).
Thermal Duration Reference Table:
| Oven Temperature (°C) | Thermal Duration (Hours) |
| 100°C | 7.5 Hours |
| 150°C | 3.5 Hours |
| 200°C | 2.2 Hours |
| 250°C | 1.6 Hours |
Heatsink: If using a model equipped with a heatsink, ensure it is in normal condition (not swollen or deformed) before use.
Sealing: Secure the latches of the barrier tightly. Ensure the thermocouple leads are neatly positioned and not pinched or crushed by the lid.
3. Execution
Start Recording: Press the ‘Start’ button and verify the LED status before closing the thermal barrier.
Through Oven: Place the assembled thermal barrier onto the conveyor or alongside the product as it enters the oven.
Monitoring: Closely monitor the residence time of the equipment inside the oven to ensure it does not exceed the rated Thermal Duration.
4. Recovery & Analysis
Retrieval: Upon exiting the oven, always wear heat-resistant gloves to retrieve the barrier. (Caution: The external surface will be extremely hot).
Cooling Protocol: Remove the data logger from the thermal barrier immediately to prevent “heat soak” (post-process heat transfer). Allow the barrier to cool down naturally in the air. (Never submerge the hot barrier in water).
Data Analysis: Connect the logger via USB to download data into the analysis software. Verify the results against CQI-9, CQI-12, or AMS2750 standards using the high-precision ± 0.3°C.
💡 Critical Maintenance Tips:
Surface Cleaning: After each cycle, wipe the Anodized Aluminum surface of the logger to remove any chemical residue or dust.
Inspection: Always perform a visual inspection of the Thermal Barrier and gaskets after cooling to ensure the system is ready for the next cycle.
"PhoenixTM by PP Systems: We deliver more than just measurement tools—we provide the confidence that drives your business into the future."